
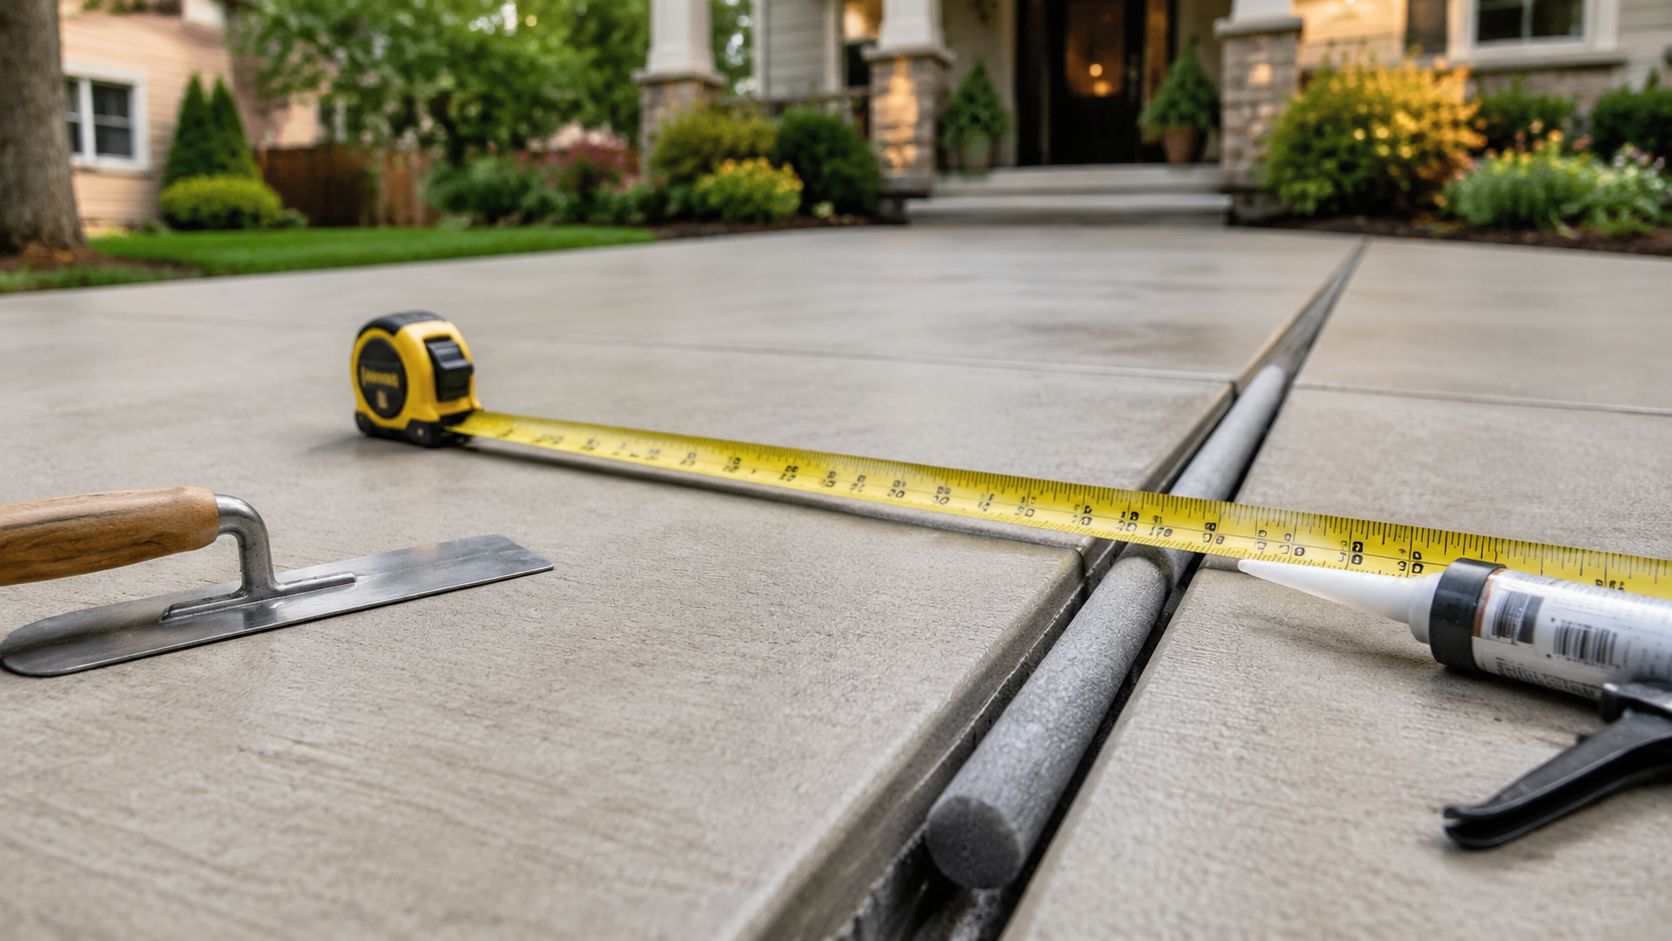
You've just noticed a jagged crack running across your concrete driveway, or you're planning a new pour and wondering whether expansion joints are really necessary. In Central Florida, that question matters because heat, intense sunlight, rain, traffic, and shifting sandy subgrades all place stress on a slab.
The practical answer is more precise than “add expansion joints everywhere.” Concrete driveway expansion joints, isolation joints, and control joints perform different jobs. A sound layout gives concrete a planned place to move or crack, while poor spacing can leave random fractures, open gaps, and water intrusion. Homeowners in Marion County, FL, Citrus County, FL, Ocala, Dunnellon, The Villages, and nearby communities need a joint plan suited to the actual site, not a generic rule copied from another climate.
Table of Contents
- Why Concrete Driveways Need Joints in the First Place
- Expansion Joints, Isolation Joints, and Control Joints Explained
- Sawn, Formed, and Preformed Joint Methods Compared
- Spacing and Depth Rules for Driveway Joints
- Central Florida Conditions That Change the Joint Plan
- Sealants, Repairs, and Routine Joint Maintenance
- When to Call Riverside Sealing & Striping for Help
- Frequently Asked Questions About Driveway Joints
Why Concrete Driveways Need Joints in the First Place
A homeowner usually encounters the problem in one of two ways. A new driveway develops a zigzag crack after curing, or a planned installation raises the question of whether joint layout is optional. Neither situation is unusual. Concrete is strong, but it changes volume as it dries, warms, cools, and responds to movement beneath the slab.
The goal isn't to prevent every crack. The goal is to control where cracking occurs. A properly placed control joint creates a weakened line below the surface, giving shrinkage stress a deliberate path instead of allowing a random fracture to cross the most visible part of the driveway.
Stress builds for several reasons
Concrete loses moisture during curing and contracts. Temperature changes create additional expansion and contraction, while small shifts in the subgrade can pull different portions of the slab in different directions. A driveway also carries vehicle loads, so an existing weak point can become more pronounced when the slab bends under traffic.
Joints give those stresses room to release. At a fixed structure, a separation detail prevents the driveway from bonding tightly to something that moves differently. Within the slab, a control joint helps organize shrinkage cracking.
Practical rule: A joint isn't a defect in the driveway. An uncontrolled crack is evidence that the stress found its own route.
Random cracks create more than an appearance problem. They can collect water, allow weeds to establish, expose edges to impact, and make later sealing more difficult. Open joints can also let water reach the base and contribute to deterioration, a concern highlighted in guidance on concrete expansion-joint maintenance.
Riverside's concrete slab construction guide treats joints as planned separations that let different portions of a slab move without forcing the concrete to carry avoidable stress. That principle applies whether a contractor is installing a driveway in Silver Springs or replacing one in Crystal River.
The rest of the joint strategy depends on three decisions: which type of joint belongs in each location, how far apart the control joints should be, and how Central Florida conditions affect installation and maintenance.
Expansion Joints, Isolation Joints, and Control Joints Explained
A driveway contains three distinct joint systems, and each one handles a different kind of movement. The terminology can blur in contractor conversations, so knowing the physical job of each joint helps you assess a proposal and check whether the detail fits its location.
An expansion joint is a full-depth separation containing compressible filler. It lets two concrete elements move independently instead of pressing directly against each other. On a residential driveway, it commonly appears where the slab meets a garage slab, foundation, sidewalk, curb, or another fixed structure.
An isolation joint describes the separation between the driveway and an element that should not bond to it. That may be a foundation, footing, column, garage stem wall, or utility penetration. In practice, an expansion joint can provide the isolation detail, but the terms describe different aspects of the same location: “expansion” refers to movement space, while “isolation” identifies what is being separated. Technical driveway joint guidance identifies fixed-object interfaces as locations for isolation or expansion material rather than routine contraction joints.
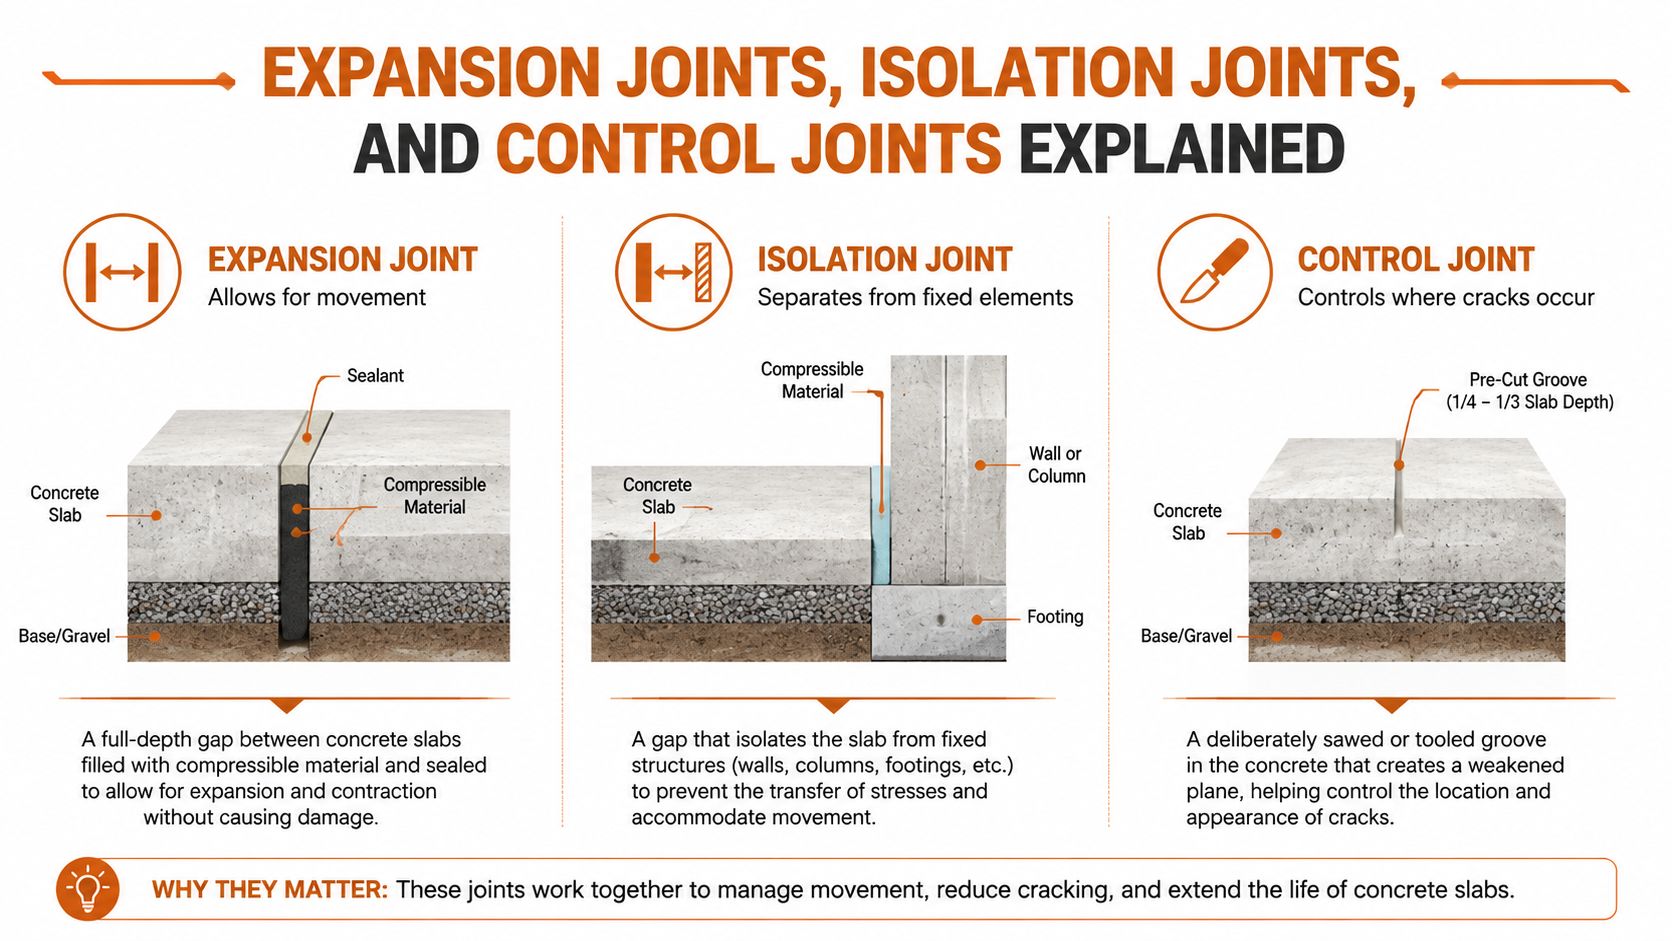
A control joint, also called a contraction joint, manages shrinkage within the driveway field. The contractor forms or cuts a groove into the slab, creating a planned weakness plane. As the concrete contracts, cracking is guided beneath that groove instead of spreading randomly across the surface.
Where each joint belongs
- At the garage or foundation: Install an isolation joint with compressible filler so the driveway can move separately from the structure.
- Around fixed penetrations: Separate the slab from posts, drains, and other rigid elements.
- Across the driveway field: Use control joints to guide shrinkage cracking.
- At transitions to existing concrete: Determine whether the adjoining slab needs independent movement.
The common mistake is calling every visible line an expansion joint. That wording suggests the entire driveway needs compressible filler, although interior lines normally serve as control joints. True expansion joints are uncommon across ordinary driveway fields. Isolation joints remain important wherever rigid elements meet, particularly where Central Florida rain can carry water into an open interface or sandy subgrades allow slight movement around the slab.
One driveway may use all three concepts. A contractor can place preformed material along a garage edge, isolate a fixed structure, and install control joints through the interior panels. The location determines the function.
Sawn, Formed, and Preformed Joint Methods Compared
The method used to create a joint affects its appearance, timing, and suitability for the location. A homeowner doesn't need to select every tool, but the method should make sense for the joint's job.
Sawn joints are cut after the concrete has hardened enough to support the saw. Contractors use a grooving saw to create a clean, consistent line, making this the common approach for interior control joints. The benefit is a neat appearance and accurate layout. The trade-off is timing. If the cut happens too late, shrinkage cracking may begin before the planned groove exists.
Formed joints are created while the concrete is still wet. A finisher can tool a groove into the surface, or the crew can install a strip before the pour continues. This approach works where saw access is awkward or where the crew needs the joint formed during placement. The line can look less uniform if finishing quality varies.
Preformed joints use strips of fiber, plastic, asphalt-impregnated material, or foam-based systems placed before the concrete is poured. These products create a full-depth separation or a built-in joint detail. At structures, preformed material is generally the appropriate choice because the driveway needs separation from the adjoining element.
| Method | When It's Made | Typical Cost (per lin. ft.) | Best Use on a Driveway | Key Trade-off |
|---|---|---|---|---|
| Sawn | After placement and initial curing | Depends on project scope | Interior field control joints | Clean finish, but timing matters |
| Formed | During the wet-concrete finishing stage | Depends on project scope | Areas with limited saw access | Convenient, though appearance can vary |
| Preformed | Installed before the pour | Depends on material and project scope | Garage, foundation, sidewalk, curb, and fixed-object interfaces | Provides separation, but must be positioned accurately |
The cost column should be treated as a quote item rather than a universal rate. The provided technical information doesn't establish a reliable dollar amount, and site access, material selection, driveway geometry, and repair conditions can change the total.
For most residential layouts, the practical pairing is straightforward: preformed isolation material at fixed structures and sawn control joints inside the slab. Formed joints remain useful when the pour sequence or site conditions make sawing less practical.
Spacing and Depth Rules for Driveway Joints
Joint layout should match the slab's thickness, shape, and support conditions. For a 4-inch slab, control joints are commonly planned at roughly 8 to 12 feet, while the broader relationship of about 24 to 36 times slab thickness gives a similar starting range, as described in this driveway joint-spacing guidance tied to slab thickness and residential driveway spacing chart.
A tighter layout may suit a restrained subgrade, a mix with greater shrinkage potential, or strong temperature movement. Central Florida heat and wet-dry cycles can make those conditions more noticeable, especially when sandy support varies across the drive. Control joints also need enough depth to guide the crack where the installer wants it. The common field rule is approximately one-quarter of slab thickness, with the final depth confirmed for the actual slab and placement method.
A practical reference table
| Slab Thickness | Control Joint Spacing (ft) | Joint Depth (in) | Max Panel Aspect Ratio |
|---|---|---|---|
| 4 inches | About 8 to 12 | About one-quarter of slab thickness | Close to 1:1 |
| Thicker slab | Adjust to slab thickness and use | About one-quarter of slab thickness | Close to 1:1 |
Use the table for planning, not as a finished site layout. Riverside's driveway thickness guide explains why slab thickness and expected use belong in the same decision. A heavier vehicle pattern, turning area, or weak support condition can affect the joint plan.
Keep panels close to square. Long, narrow rectangles concentrate stress, while L-shaped panels can crack from their inside corners. A joint line should run to a logical edge or intersection. If it stops in the middle of a panel, the concrete may gain a new stress concentration instead of a dependable crack-release path.
Mark the layout before pouring or sawing. Account for driveway width, turning areas, sidewalk connections, garage alignment, and any change in support. At fixed structures, keep isolation details separate from the control-joint grid. That distinction prevents a joint intended to separate the driveway from a garage or curb from being mistaken for a line meant to control shrinkage cracks.
Central Florida Conditions That Change the Joint Plan
A driveway in Dunnellon or Lecanto doesn't experience the same conditions as a slab in a cool, stable climate. Central Florida concrete faces sustained heat, strong ultraviolet exposure, heavy rain, wet-dry cycles, and subgrade behavior that can vary across a property.
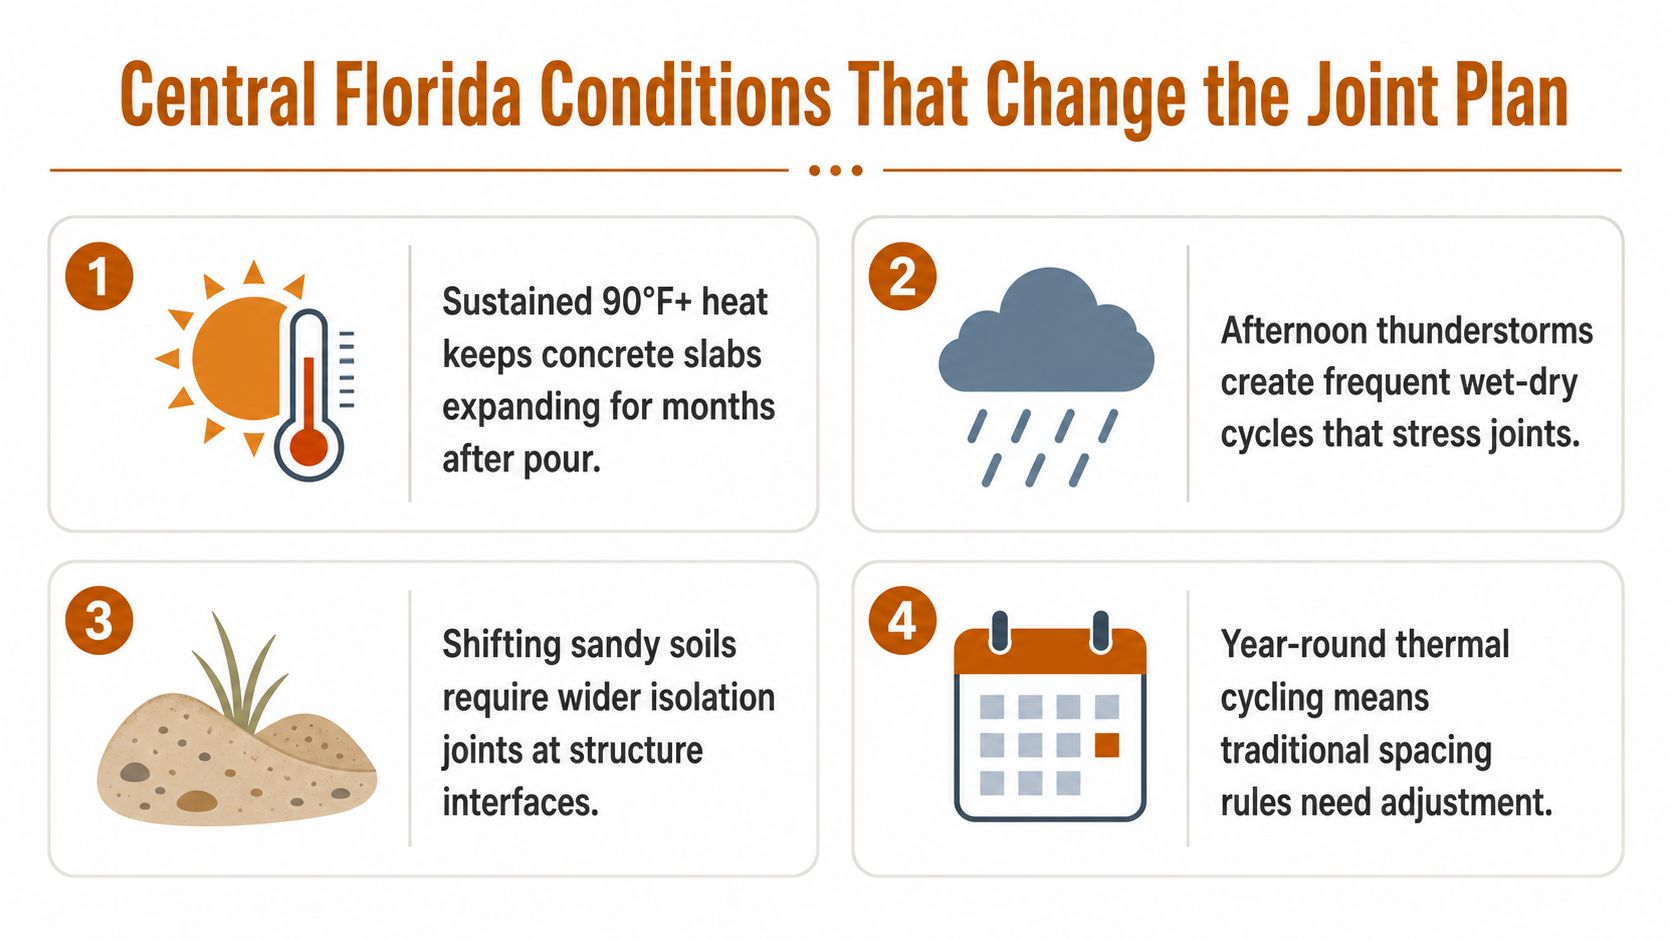
Warm conditions keep the slab moving over extended periods. Afternoon storms then wet the surface and surrounding soil, followed by rapid drying and renewed heating. Those cycles don't replace the basic spacing principles, but they make poor detailing more noticeable, especially where joints are too far apart, edges are unsupported, or water enters an open separation.
What local site conditions change
Heat and UV exposure can dry sealants and stress exposed joint edges. A product selected for interior conditions may not be suitable for an open driveway that receives full sun in Summerfield or Belleview.
Rainfall changes the moisture condition around the slab. If joint filler fails, water can enter the opening and reach the supporting layers. A sealed joint isn't waterproof forever, so the contractor needs to consider drainage, edge support, and future resealing.
Sandy subgrades can shift when moisture conditions change. Well-drained soil doesn't automatically mean stable soil. Proper preparation, compaction, and transition details matter at garage edges, sidewalks, and other rigid interfaces.
Tree roots add another local concern. Oak and laurel oak roots near driveway edges or sidewalks can lift adjacent concrete and create differential movement. Irrigation overspray containing salt or chlorine can also contribute to deterioration at exposed joint edges.
These conditions may lead a careful installer to use more conservative spacing, coordinate saw timing closely, and select flexible sealants where movement and weather exposure justify them. The Central Florida concrete and asphalt service team at Riverside can evaluate local drainage, site preparation, joint interfaces, and the surrounding pavement rather than applying a national rule without adjustment.
Sealants, Repairs, and Routine Joint Maintenance
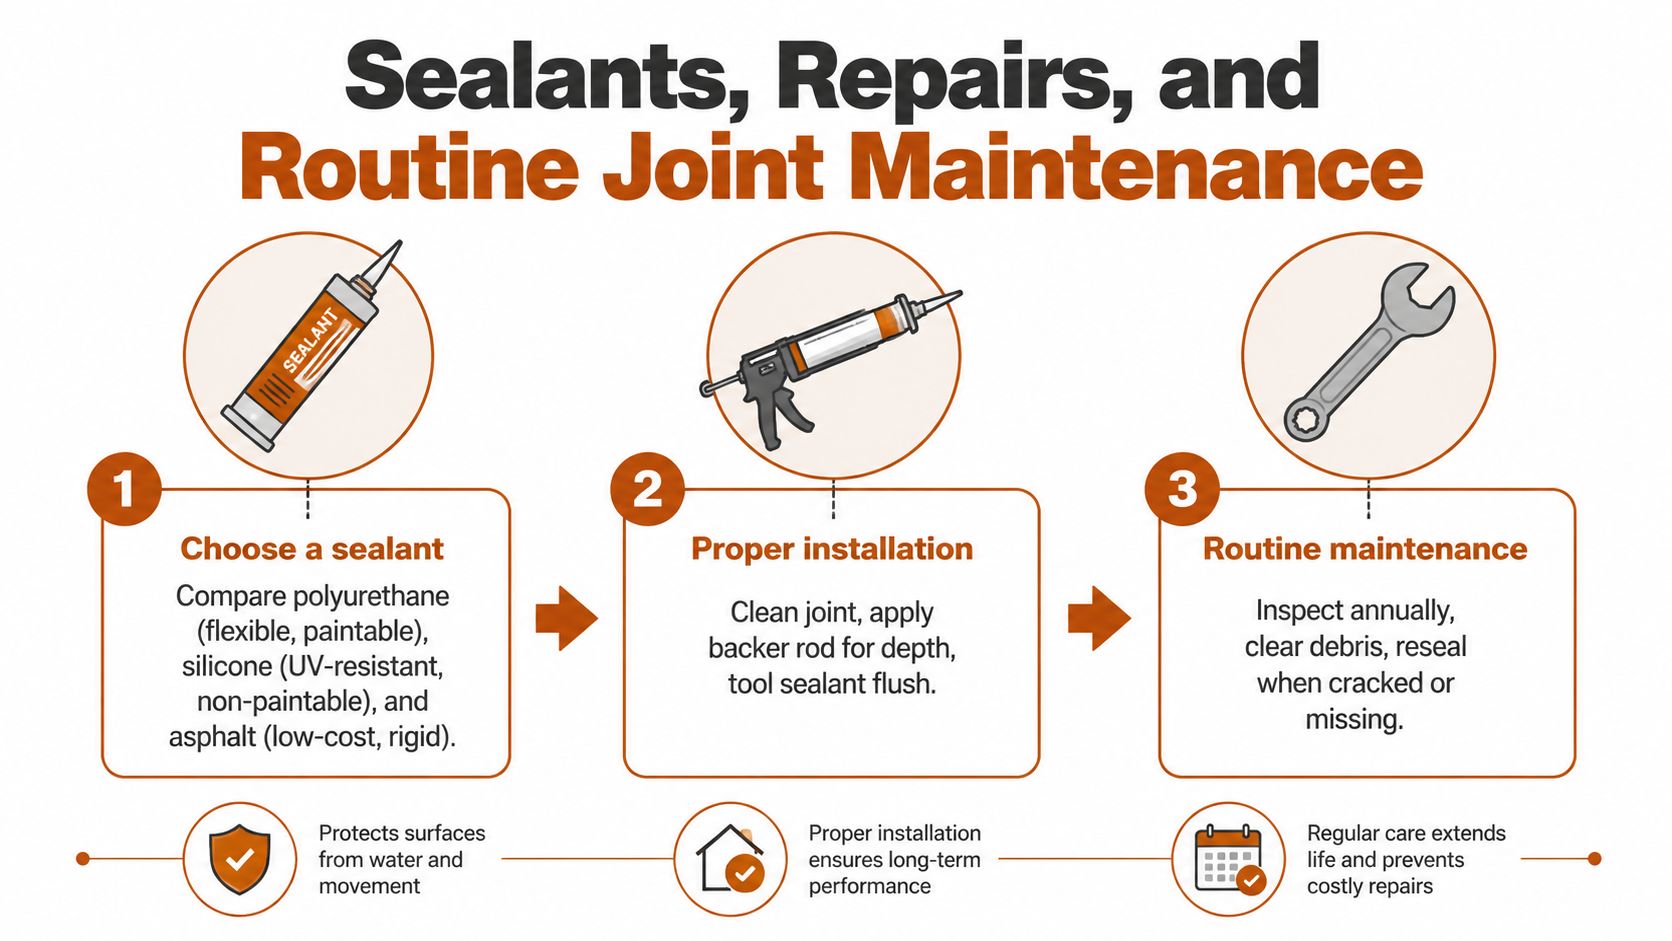
A joint only works as intended when its filler and sealant remain in serviceable condition. Preformed expansion-joint fillers are commonly specified at about 1/2 inch thick, with product data covering width ranges that commonly include 3.5 to 8 inches for slab-edge isolation. Some formulations are rated for maximum joint widths up to 1.5 to 2.5 inches, so product selection must match the opening and movement expected. These specifications appear in preformed expansion-joint filler data.
Homeowners will usually encounter several sealant approaches:
- Polyurethane: Flexible and commonly used for exterior movement joints. It can suit many driveway repairs, but the joint must be clean and prepared correctly.
- Silicone: Resistant to sunlight and weathering, though product compatibility and finish requirements need attention.
- Backer rod with self-leveling urethane: Useful where a joint is wide or deep enough to require control of sealant depth.
The right installation starts with preparation. A crew removes loose material, cleans dust and debris, installs backer rod where needed, and tools the sealant to create proper contact with the joint walls. Capping failed sealant with a new layer often leaves the original adhesion problem underneath.
Match the symptom to the repair
Inspect joints during routine property maintenance, particularly after periods of heavy rain or intense heat. Look for missing filler, separated sealant, vegetation, standing water, and crumbling edges.
A hairline crack inside an otherwise sound control joint may only need cleaning and resealing. Spalled edges usually require routing and patching before a new sealant can bond. A joint that has widened substantially, or a slab that has settled unevenly, points to a deeper movement or subbase issue.
A clean surface and sound joint edges matter more than simply adding another bead of caulk.
Joint resealing can be a manageable DIY project when the opening is stable and accessible. Structural repair is different. Professional concrete expansion-joint repair is appropriate when the original material has debonded across multiple sections, the slab has shifted, or water intrusion is paired with settlement.
When to Call Riverside Sealing & Striping for Help
Some joint problems are cosmetic and localized. Others indicate that the driveway's movement, support, or original layout needs a trained evaluation.
Call for professional input when you see random cracking through the middle of a panel, openings wider than 1/2 inch, uneven settlement, repeated sealant failure across multiple sections, or a driveway project that hasn't been poured yet and still needs a joint plan. Those signs matter because sealant alone can't correct a slab that lacks support or has been forced against a fixed structure.
A qualified concrete contractor can address the problem at the right stage:
- Before placement: Map control-joint lines, isolation joints, garage transitions, sidewalk connections, and drainage paths.
- On a new slab: Install appropriate separation material and schedule joint formation before shrinkage cracking starts.
- On an existing driveway: Recut damaged control joints where practical, clean the openings, and reseal them.
- When filler has failed: Remove debonded material and replace the joint detail rather than covering the failure.
Riverside Sealing & Striping, LLC is a licensed and insured, family-owned contractor based in Dunnellon and serving Marion County, FL, Citrus County, FL, and surrounding Central Florida communities. Its work includes concrete driveways, patios, slabs, sidewalks, site preparation, asphalt sealcoating, and parking lot striping. That combined concrete and asphalt experience helps property owners coordinate related pavement work instead of treating each surface as an isolated problem.
The company offers reliable scheduling, clear timelines, free estimates, and no-pressure on-site consultations. A professional evaluation is especially useful when you're unsure whether an opening needs cleaning and sealing or whether the slab itself has moved.
Frequently Asked Questions About Driveway Joints
How long should a sealed joint cure before vehicles drive over it?
Follow the sealant manufacturer's cure instructions and the contractor's directions. Cure time depends on product type, joint size, temperature, humidity, and surface preparation, so don't assume that a skin forming on top means the joint is ready for traffic.
Can control joints be added to an existing driveway?
A contractor may be able to saw new control joints into an existing slab, but the new layout won't guarantee that earlier random cracks disappear. The crew should first inspect slab thickness, existing cracking, reinforcement, drainage, and support.
Which lasts longer in Central Florida, polyurethane or silicone?
Neither product has a universal lifespan that applies to every driveway. Sun exposure, joint movement, adhesion, water, preparation, and product formulation all affect service life, so compare the intended application and maintenance requirements rather than choosing by label alone.
Does a new driveway need joint filling immediately?
A new driveway needs the correct joint design from the beginning, especially at fixed structures. Whether the finished joint requires a separate sealant immediately depends on the filler, joint type, product system, and exposure conditions specified for the project.
Is DIY backer rod and sealant cheaper than hiring a crew?
DIY work usually reduces labor cost, but the final price includes materials, cleaning, tooling, disposal, and the risk of repeating the work if the sealant fails. Hiring a crew makes more sense when joints are numerous, wide, difficult to access, or connected to settlement and spalling.
Riverside Sealing & Striping, LLC offers concrete driveway joint layout, new concrete installation, joint sealing, and repair evaluations across Marion County, FL, Citrus County, FL, and surrounding Central Florida areas. Visit Riverside Sealing & Striping, LLC to request a free, no-pressure consultation and schedule an on-site review of your driveway joints.