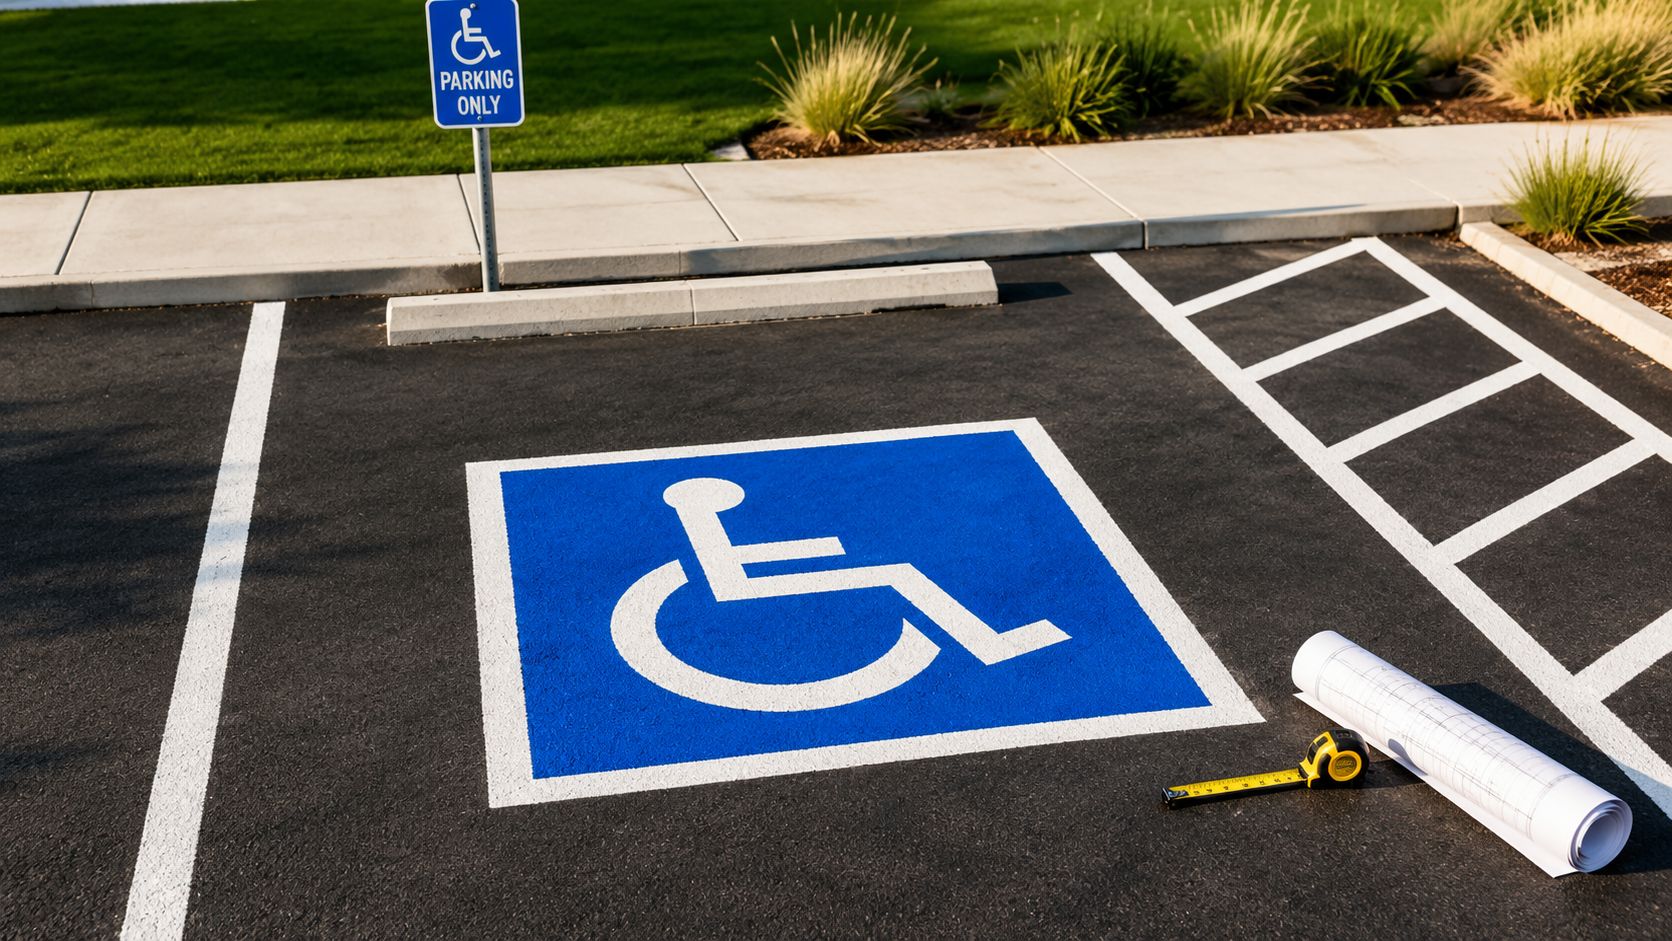
The handicap parking space symbol in the United States is the white-on-blue International Symbol of Accessibility, and the ADA requires it to appear on both a vertical sign and the pavement of every accessible space. The pavement symbol must be at least 36 inches by 36 inches, while the vertical sign's bottom edge must be at least 60 inches above the ground.
A property manager in Ocala, Dunnellon, or The Villages may notice the problem during a routine walk-through: the blue wheelchair marking has turned chalky, the white figure is barely visible, and the sign is partly hidden behind landscaping. The space still looks familiar, but familiarity doesn't prove compliance. In Central Florida, sun, rain, traffic, sealcoating, and repeated pavement work can all make an accessible parking marking harder to recognize.
For owners and managers in Marion County, FL, Citrus County, FL, and nearby communities including Belleview, Silver Springs, Summerfield, Crystal River, Homosassa, Inverness, Lecanto, Beverly Hills, and Hernando, the practical question is straightforward. Is the handicap parking space symbol still correctly sized, visible, positioned, and supported by a compliant access aisle?
Table of Contents
- What the Handicap Parking Space Symbol Means
- A Short History of the Accessibility Icon
- Required Sign and Pavement Marking Dimensions
- Access Aisles, Van Spaces, and Shared Layout Rules
- Paint, Thermoplastic, and Maintenance in Florida Conditions
- Why One Symbol Is Not Always Universal
- When to Bring in a Professional Striping Contractor
- Key Takeaways and Next Steps for Property Owners
What the Handicap Parking Space Symbol Means
A faded wheelchair marking creates a practical compliance question: can a driver, passenger, property manager, or enforcement officer identify the reserved space quickly and confidently?
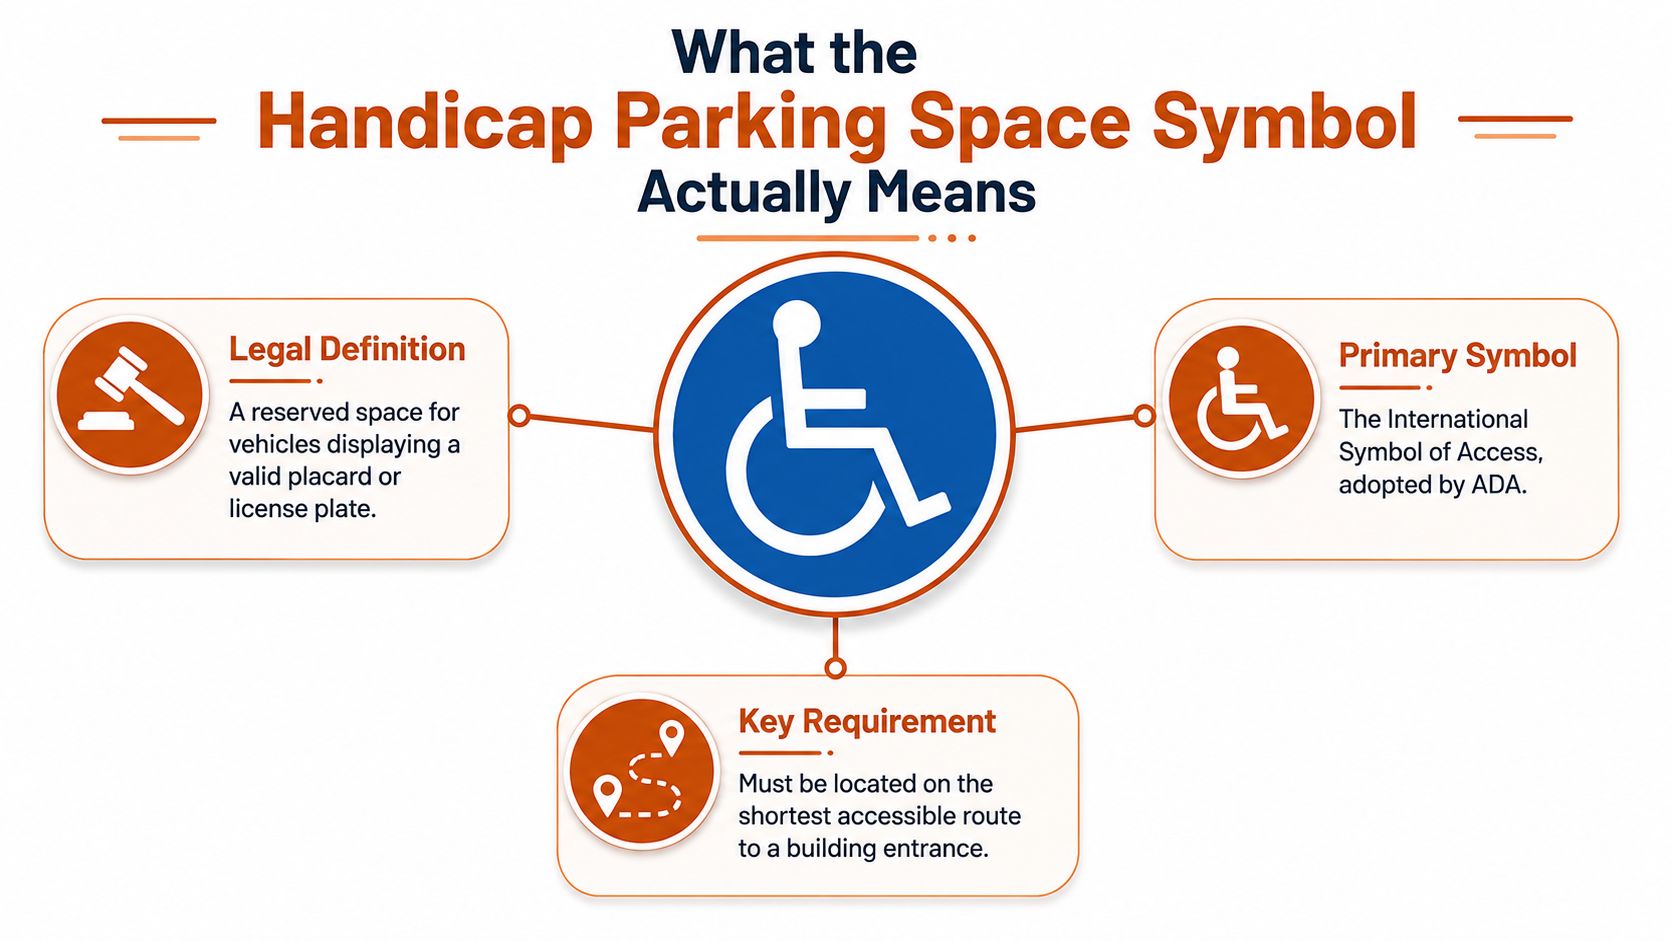
The International Symbol of Accessibility, commonly called the ISA, is the familiar white figure seated in a wheelchair on a blue background. Federal accessibility guidance requires accessible parking spaces to be identified by a vertical sign, and calls for the symbol on the pavement when the space is paved. The U.S. Access Board parking guidance explains these sign and pavement identification requirements.
Know what the symbol is not
The ISA identifies the reserved parking space. It is separate from the access aisle, the striped area beside or between accessible spaces. It is also separate from the curb ramp, curb, and accessible route leading to the building. Each part serves a different purpose:
- The ISA identifies the reserved parking space.
- The access aisle provides room for mobility equipment and transfers.
- The curb ramp connects the route to a different elevation.
- The accessible route carries a person from the parking area toward the entrance.
The ADA Standards identify the International Symbol of Accessibility for accessible parking, and the symbol is recognized throughout the United States. Florida property owners must also account for state and local enforcement processes, including building and code compliance review under applicable Florida requirements.
In Central Florida, field conditions make visibility a maintenance issue. Sun exposure can fade color, heavy rain can reduce contrast, and traffic, sealcoating, or repeated pavement work can cover or wear the marking. Frequent re-striping may restore visibility, but the layout still needs to match the sign, stall, aisle, and route requirements.
Field rule: A space isn't made compliant by a blue wheelchair painted nearby. The sign, pavement marking, stall layout, aisle, route, and surface have to work together.
A missing, obstructed, or illegible handicap parking space symbol can lead to a complaint, an ADA dispute, or building department attention. It can also create a safety problem when drivers cannot distinguish a reserved space from ordinary striping. Visibility and correct geometry should be checked together.
A Short History of the Accessibility Icon
The symbol has a longer history than many property owners realize. The familiar design traces back to a 1969 design competition held by the International Commission on Technology and Accessibility, or ICTA. Danish designer Susanne Kofoed won with a wheelchair-based icon, and the commission later modified it by adding a head and using a white-on-blue color scheme. The history is documented in the account of the little blue sign.
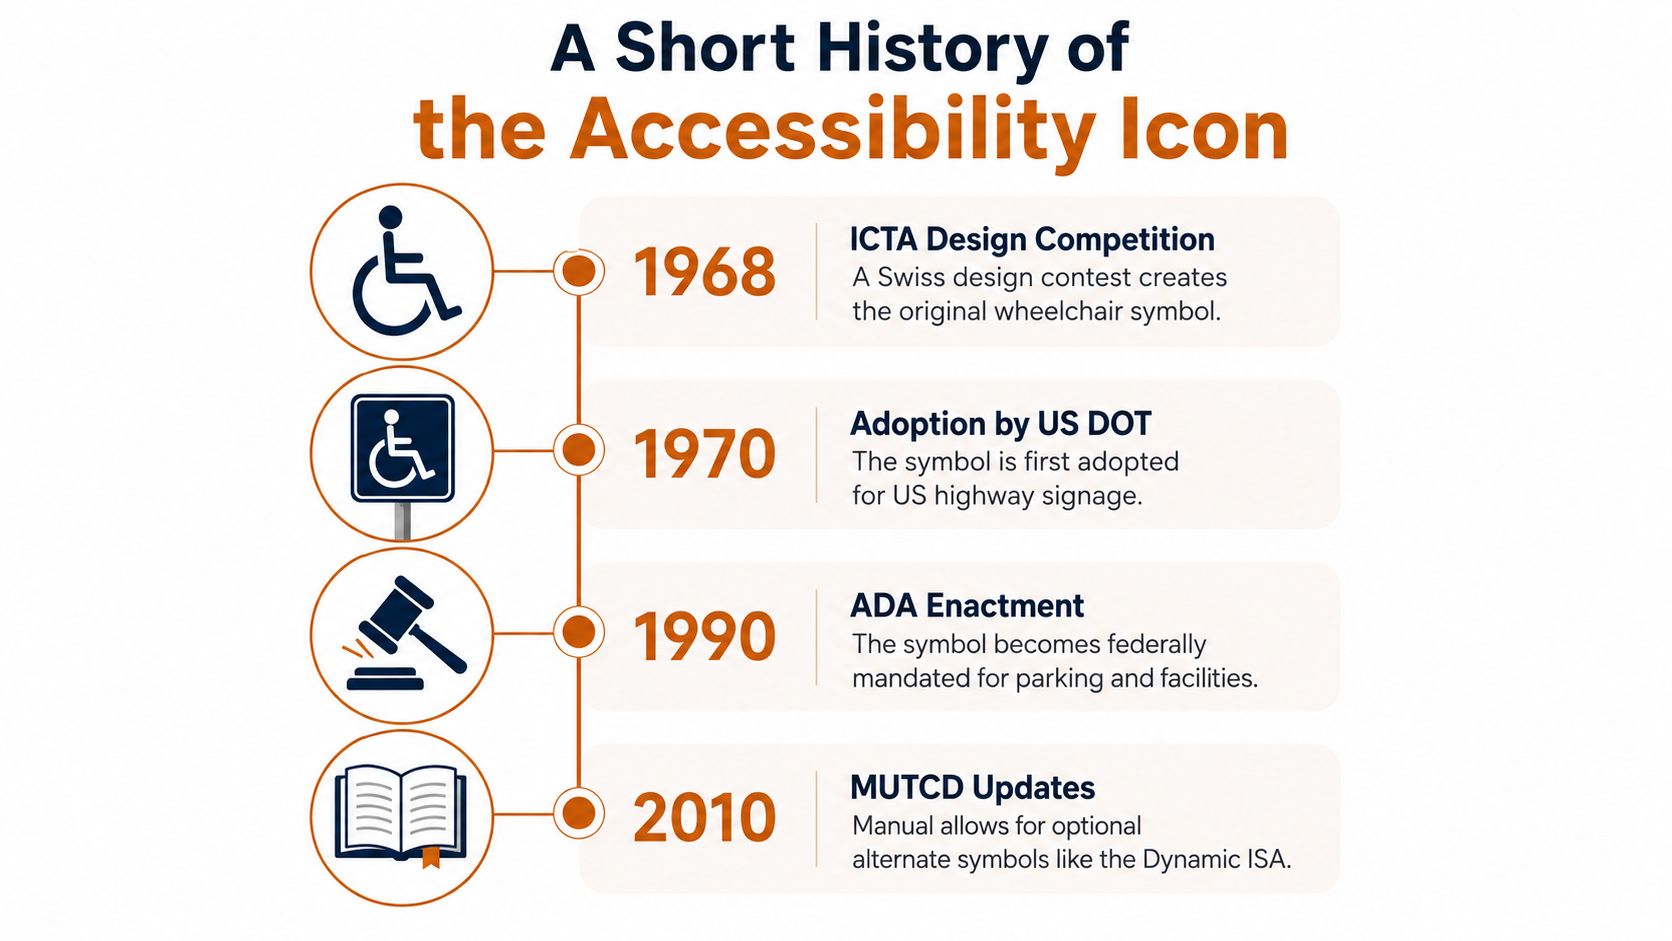
The icon became internationally recognized in 1974 and was widely adopted in the United States after the ADA became law in 1990. Those milestones matter because a parking symbol has to communicate across language barriers, state lines, property types, and driving conditions. A driver approaching a shopping center in Crystal River should be able to understand the marking without reading a long explanation.
Why the design remains recognizable
The seated figure, circular wheel, and strong contrast give the ISA a compact visual structure. The symbol isn't intended to be decorative. It needs to be recognized from a vehicle, through glare, rain, pavement wear, and other markings.
The design has also become part of a broader accessibility language used on signs, entrances, routes, and parking areas. That consistency is useful to property owners because replacing the marking with a custom logo or decorative variation can make the space less obvious and create uncertainty about whether the marking follows the governing standard.
This history also explains why a worn symbol deserves attention even when the original layout was correct. The power of the ISA comes from immediate recognition. Once the wheel ring, figure, or contrast disappears into the pavement, the marking no longer performs that job well.
Required Sign and Pavement Marking Dimensions
Property owners can perform a useful first inspection with a tape measure, a level, and a clear view of the entire stall. The goal isn't to replace a code review. It's to identify obvious problems before a complaint, resurfacing project, or lease inspection exposes them.
Federal guidance requires the accessible parking sign to be mounted with its bottom edge at least 60 inches above the ground. The sign needs to remain visible and shouldn't disappear behind a parked truck, landscaping, utility equipment, or a damaged post. Canadian accessibility standards use a vertical sign size of at least 300 mm by 450 mm, about 11.8 inches by 17.7 inches, while sign and marking details can vary by governing jurisdiction.
The pavement symbol also has measurable requirements. Canadian technical guidance specifies that the International Symbol of Access should be centered in the space, be at least 1000 mm long, and contrast with the pavement by at least 70% luminance. U.S. marking guidance commonly uses a 36-inch by 36-inch white symbol on blue for the parking space identification, with the centerline within 6 inches of the stall centerline and the symbol oriented parallel to the space length. These details are addressed in accessible parking sign requirements.
A practical self-audit
| Element | Requirement |
|---|---|
| Vertical sign | Bottom edge at least 60 inches above the ground |
| Pavement symbol | At least 36 inches by 36 inches in the referenced U.S. marking guidance |
| Symbol position | Centerline within 6 inches of the parking space centerline |
| Symbol orientation | Parallel to the length of the parking space |
| Canadian technical marking guidance | Symbol at least 1000 mm long with at least 70% luminance contrast |
Common Florida mistakes include a sign mounted too low, a pavement symbol reduced to a small decorative decal, and an ISA placed on the wrong half of a stall. A crew may also paint the blue field off-center, leaving the white figure visually disconnected from the space it identifies.
Check the pavement after sealcoating or resurfacing as well. New black asphalt can make an old blue field look uneven, while concrete can absorb paint differently across patched areas. The symbol should be clear at the approach, not merely visible when someone stands directly over it.
Access Aisles, Van Spaces, and Shared Layout Rules
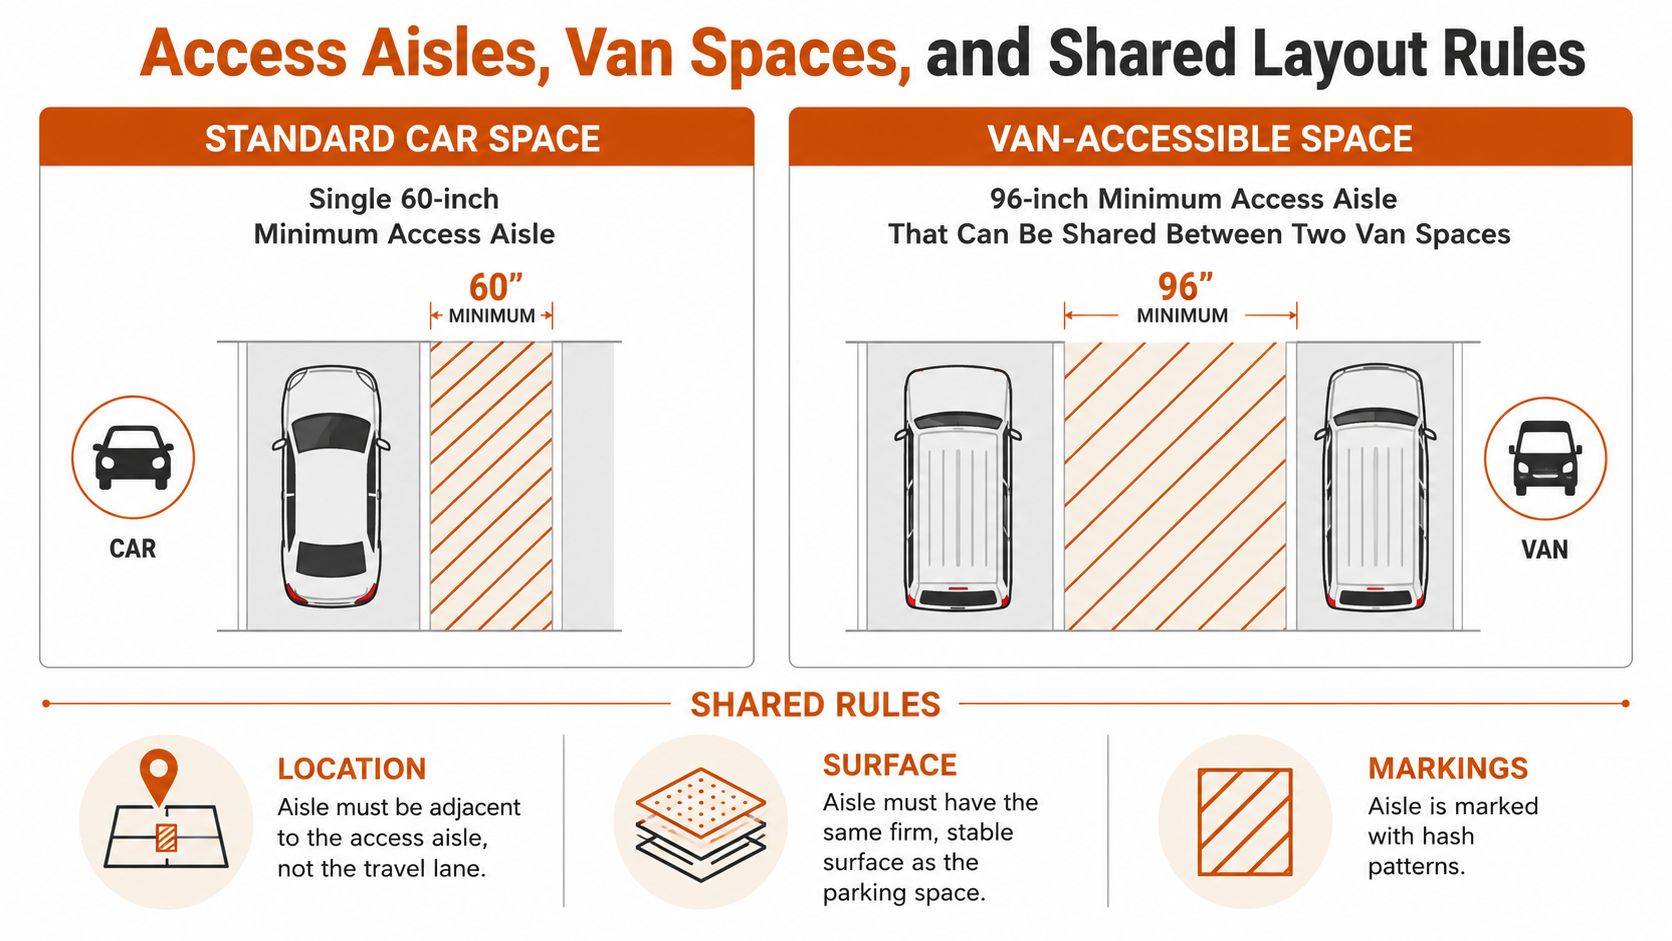
The handicap parking space symbol is only one part of the layout. An accessible stall also needs an adjoining access aisle connected to an accessible route. Two parking spaces may share a common aisle, which can save pavement width when the layout is measured correctly.
A standard accessible parking space is 8 feet wide with a 5-foot access aisle. A van-accessible arrangement can use an 11-foot-wide space with a 5-foot aisle, or an alternate design with an 8-foot-wide space and an 8-foot aisle, as described in ADA parking dimensions.
How the aisle works
The aisle can be placed on either side of a standard accessible space. For angled van spaces, the aisle must be on the passenger side. The aisle can't be treated as extra parking, a loading zone, a cart-storage area, or a convenient place for a vehicle to overhang.
The ADA Standards for accessible parking also address shared aisles and the relationship between the space, aisle, and accessible route. The surface needs to remain firm and stable, and the aisle needs enough clear space for a lift or ramp to deploy.
Van layouts require more than a wider stripe
A van-accessible space needs the correct sign designation and adequate aisle width. Wheel stops, raised curbs, drainage edges, bollards, and parked vehicles can all block lift deployment even when the painted dimensions look correct.
For a typical shared layout, two spaces can face the same travel lane with the access aisle between them. For an alternate van arrangement, an 8-foot-wide space is paired with an 8-foot aisle. The choice depends on the site, circulation pattern, route to the entrance, and available pavement.
Slope matters after construction, too. The parking space and aisle need to remain usable when the lot settles or drainage work changes the surface. If a property has a sloped approach, a concrete transition, or a drainage channel through the aisle, measure the finished condition rather than relying on old plans. Detailed striping considerations are covered in ADA parking lot striping requirements.
Paint, Thermoplastic, and Maintenance in Florida Conditions
Central Florida markings take a steady beating. Strong sun fades exposed paint, afternoon rain tests adhesion, and turning tires wear the symbol at the same time that traffic dirt darkens the blue field. A parking lot in Marion County may also receive a different wear pattern from a small HOA lot in Summerfield, while a busy commercial site near Inverness or The Villages may need closer observation.
The material choice affects appearance and maintenance. Standard latex traffic paint is economical for routine restriping, but it generally has a shorter service life in demanding conditions. Premium chlorinated rubber or epoxy systems resist chemicals and weather better, while preformed thermoplastic carries a higher initial cost and can make sense for symbols and crosswalks that receive concentrated wear.
| Material | Service Life | Cost Tier | Best Use |
|---|---|---|---|
| Standard latex traffic paint | Often used for short-cycle restriping in Florida | Lower | Routine lot lines and budget-conscious maintenance |
| Chlorinated rubber or epoxy paint | Longer-wearing option for chemical and weather exposure | Mid-range | Accessible symbols, aisles, and higher-use markings |
| Preformed thermoplastic | Longest-wearing option among these choices | Higher | High-wear wheelchair symbols and crosswalks |
These service-life ranges are practical planning categories, not guarantees. Actual performance depends on surface preparation, pavement condition, traffic, weather exposure, and application quality. Paint applied over dust, oil, loose sealcoat, or damp concrete won't perform like paint applied to a properly prepared surface.
A maintenance schedule that works
Inspect accessible spaces at least twice a year, and inspect again after sealcoating, resurfacing, drainage work, or concrete repairs. Repaint when the ISA becomes difficult to distinguish, the blue field loses contrast, or the edges blur into adjacent lines.
White and blue can fade at different rates, so repainting only the white figure often leaves the space looking incomplete. Repainting the ISA and blue field on the same cycle usually creates a clearer visual result. Keep the access aisle free of storage, vehicles, debris, and pavement failures.
Faded markings can become the focus of complaints and disputes, particularly when a property manager knew the problem existed but delayed correction. Good maintenance is not only about curb appeal. It supports visibility, safer circulation, and a documented effort to keep the layout serviceable.
Why One Symbol Is Not Always Universal
Most drivers expect one accessibility icon everywhere, but symbol rules can differ by jurisdiction. The classic white-on-blue ISA remains the safest default for property owners seeking federal compliance certainty.
A newer Dynamic Accessibility Symbol depicts a wheelchair user leaning forward, suggesting movement rather than a static seated posture. An industry discussion of accessible parking signage notes that the Dynamic Accessibility Symbol is accepted in New York and Connecticut but doesn't meet current federal ADA standards. That distinction is important because a symbol that a state or local authority permits may not automatically replace the federal baseline at every property.
The accessible parking sign guidance from ComplianceSigns illustrates why owners should verify the governing requirements before ordering modernized signs or repainting an entire lot.
The practical decision
If a jurisdiction has formally adopted an alternate symbol for the specific sign or pavement use, the property owner should confirm the allowance in writing before installation. Don't mix a dynamic icon in one row with the classic ISA in another unless the applicable authority clearly permits that approach. Mixed markings can confuse drivers and make enforcement less consistent.
The classic ISA is still the most recognizable choice for a shopping center, church, office, HOA, or medical property in Florida. A local preference, designer recommendation, or vendor catalog shouldn't override federal requirements. When a property spans multiple jurisdictions or includes several buildings, the safest process is to confirm the symbol, sign wording, placement, and pavement treatment before purchasing materials.
When to Bring in a Professional Striping Contractor
A straightforward restripe on a flat lot with intact lines may be manageable for an experienced maintenance team. Layout changes deserve more caution, especially when the work affects a van space, access aisle, curb ramp, drainage feature, or concrete transition.
Bring in a licensed and insured contractor when the accessible space is non-standard, when the aisle crosses a slope, or when the project combines striping with concrete patching. A qualified crew should measure the existing stall, curb, route, slope, drainage, and nearby obstructions before applying paint.
What a proper site review includes
The contractor should verify sign-post height, inspect the sign face, confirm pavement symbol dimensions, and check that the aisle remains usable beside the vehicle. The crew should also identify wheel stops, bollards, curbs, utility covers, and surrounding elements that could interfere with a mobility lift.
For larger properties, request documentation rather than relying on a verbal assurance. Useful project records include:
- Pre-work measurements: Existing stall, aisle, route, and sign conditions.
- Post-work measurements: Finished dimensions and visible marking placement.
- Sign verification: The required accessible sign and any van designation.
- Surface notes: Concrete repairs, asphalt preparation, sealcoat condition, and drainage concerns.
- As-built sketch: A simple diagram showing the final layout.
Medical offices, schools, churches, multi-building developments, and HOA lots carry more coordination risk because several entrances, routes, and parking areas may be involved. A written scope and signed checklist can help a manager respond clearly if an owner, tenant, inspector, or resident raises a concern.
For practical guidance on sequencing surface preparation and markings, review how to stripe a parking lot. A reliable contractor should explain what needs immediate correction, what can be scheduled with routine maintenance, and where concrete work must happen before striping.
Key Takeaways and Next Steps for Property Owners
A quarterly walk-through gives property owners a simple way to catch visible problems before they become expensive or disruptive. Walk the space from the driver's approach, then inspect it on foot. Look at the sign, the pavement symbol, the aisle, the route, the surface, and the surrounding obstructions as one connected system.
Use these five checkpoints:
- Confirm the ISA appears on both surfaces. The white-on-blue International Symbol of Accessibility should be visible on the vertical sign and the paved space marking.
- Measure the sign position. The bottom edge of the vertical sign should be at least 60 inches above the ground, based on federal ADA guidance.
- Check the symbol size and location. The U.S. marking guidance referenced above uses a pavement symbol at least 36 inches by 36 inches, centered close to the stall centerline.
- Verify the aisle layout. Standard spaces use a 5-foot access aisle, while van-accessible arrangements use an 8-foot aisle or the alternate configuration described earlier.
- Inspect contrast and wear. The white figure and blue field should remain distinct from the asphalt or concrete, with no peeling paint, severe fading, standing water, or obstruction.
Photograph each accessible space after inspection, especially after sealcoating, resurfacing, concrete replacement, or sign repairs. Photos give property managers a useful maintenance record and make it easier to compare conditions during the next review.
If you inherited a converted lot, never received measured plans, or are preparing for a lease renewal or property sale, schedule an on-site evaluation before the next deadline. A qualified crew can identify marking problems, sign damage, trip hazards, drainage conflicts, and concrete issues, then provide a written repair scope.
Riverside Sealing & Striping, LLC provides concrete work, asphalt sealcoating, parking lot striping, and accessible-space evaluations for properties in Marion County, FL, Citrus County, FL, and surrounding Central Florida communities. Request a free, no-pressure on-site consultation through Riverside Sealing & Striping, LLC to review your handicap parking space symbol, access aisles, signs, and pavement condition with a licensed and insured local team.