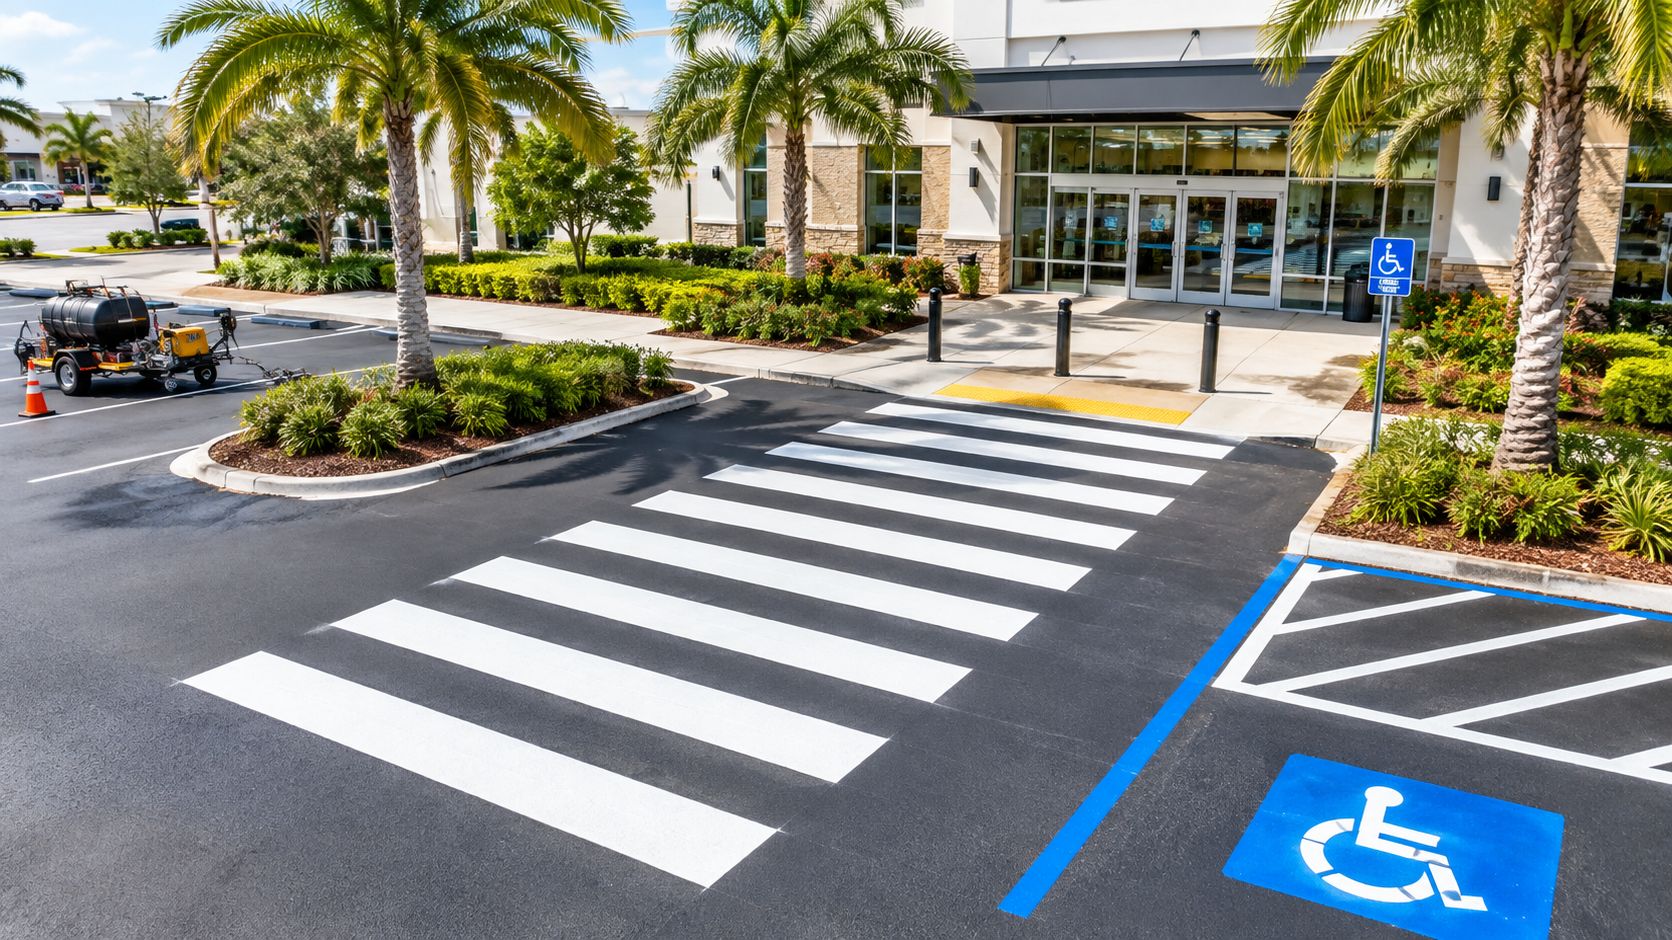
A property manager in Central Florida can sealcoat a parking lot on Friday and discover on Monday that the crosswalk looks like a gray memory. The pavement is dark, the white bars have lost their contrast, and drivers now receive a weaker signal exactly where shoppers, patients, churchgoers, or residents are walking.
That problem isn't solved by adding brighter paint in an arbitrary location. Zebra parking lot striping is a pedestrian-route, visibility, and accessibility decision before it becomes a paint job. In Marion County, FL and Citrus County, FL, heat, ultraviolet exposure, thunderstorms, irrigation, traffic, and sealcoating cycles all influence how a crossing should be designed and maintained.
Table of Contents
- What Zebra Parking Lot Striping Actually Means
- Why the Zebra Pattern Became a Safety Standard
- ADA Requirements That Shape Every Striping Layout
- Materials and Color Standards That Hold Up in Florida
- Designing the Crossing Before You Design the Stripe
- Connecting Stripes to Ramps, Sidewalks, and Building Entrances
- Maintenance Cycles That Fit Central Florida Weather
- Planning a Project and Working With a Local Striping Contractor
What Zebra Parking Lot Striping Actually Means
Zebra parking lot striping uses bold, parallel white bars across a vehicle route to identify a pedestrian crossing. Contractors may also call it a continental crosswalk, a zebra crossing, or, when side boundary lines are added, a ladder crosswalk. The pattern differs from a basic transverse crossing, which usually relies on two parallel lines marking the edges of the pedestrian path.
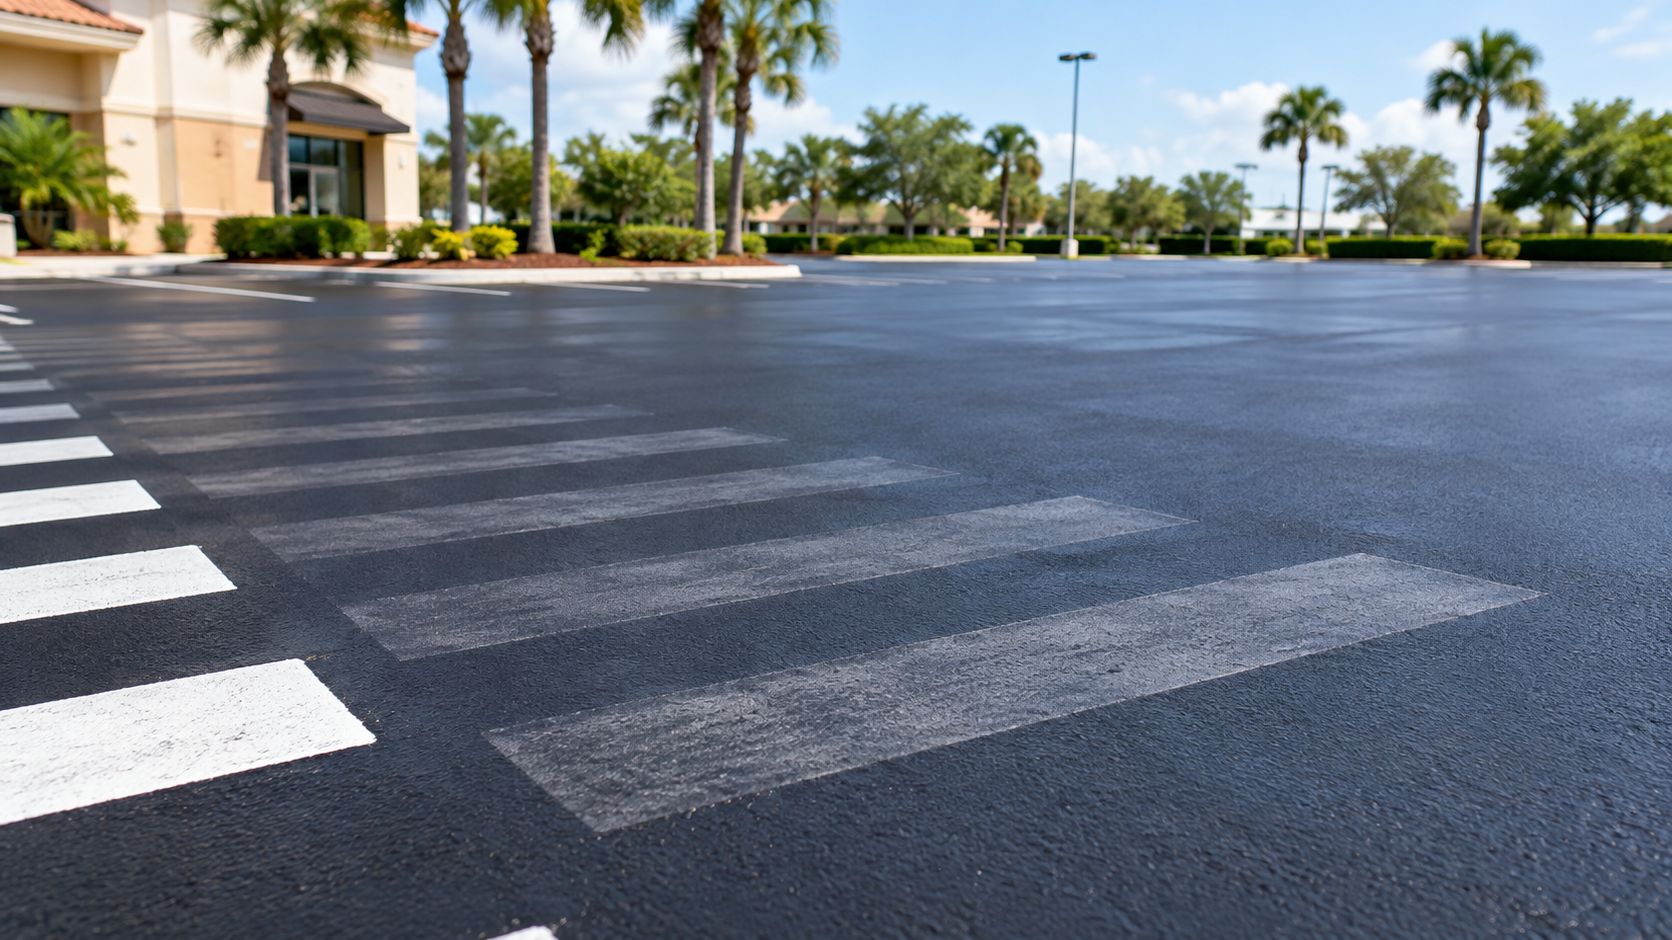
The visual difference matters. A thin pair of lines can blend into dark asphalt, especially when a driver approaches at an angle or encounters glare after rain. Broad alternating bars create a stronger visual block that drivers can recognize earlier, provided the crossing is placed where sightlines are clear and the markings remain sharp.
Where the pattern fits
Shopping centers, medical offices, churches, schools, and HOAs often use bold crossings where pedestrians move between parking bays and a building entrance. In Ocala, Dunnellon, Belleview, Silver Springs, Summerfield, and The Villages, the same basic issue appears repeatedly: people follow the shortest practical route, not necessarily the route shown on an old site plan.
That makes location as important as geometry. A zebra crossing should connect a natural pedestrian desire line to a sidewalk, curb ramp, or entrance without sending people behind parked vehicles or into a turning path that drivers can't see.
Central Florida conditions also change the maintenance equation. UV exposure can bleach white markings, thunderstorms can expose weak edges, and sealcoating can cover existing stripes entirely. A contractor who treats the work as paint-only may deliver a neat finish that doesn't stay legible through the next maintenance cycle.
Field rule: A zebra pattern earns its place when it makes the intended pedestrian route clearer. It doesn't make an unsuitable route safe by itself.
Why the Zebra Pattern Became a Safety Standard
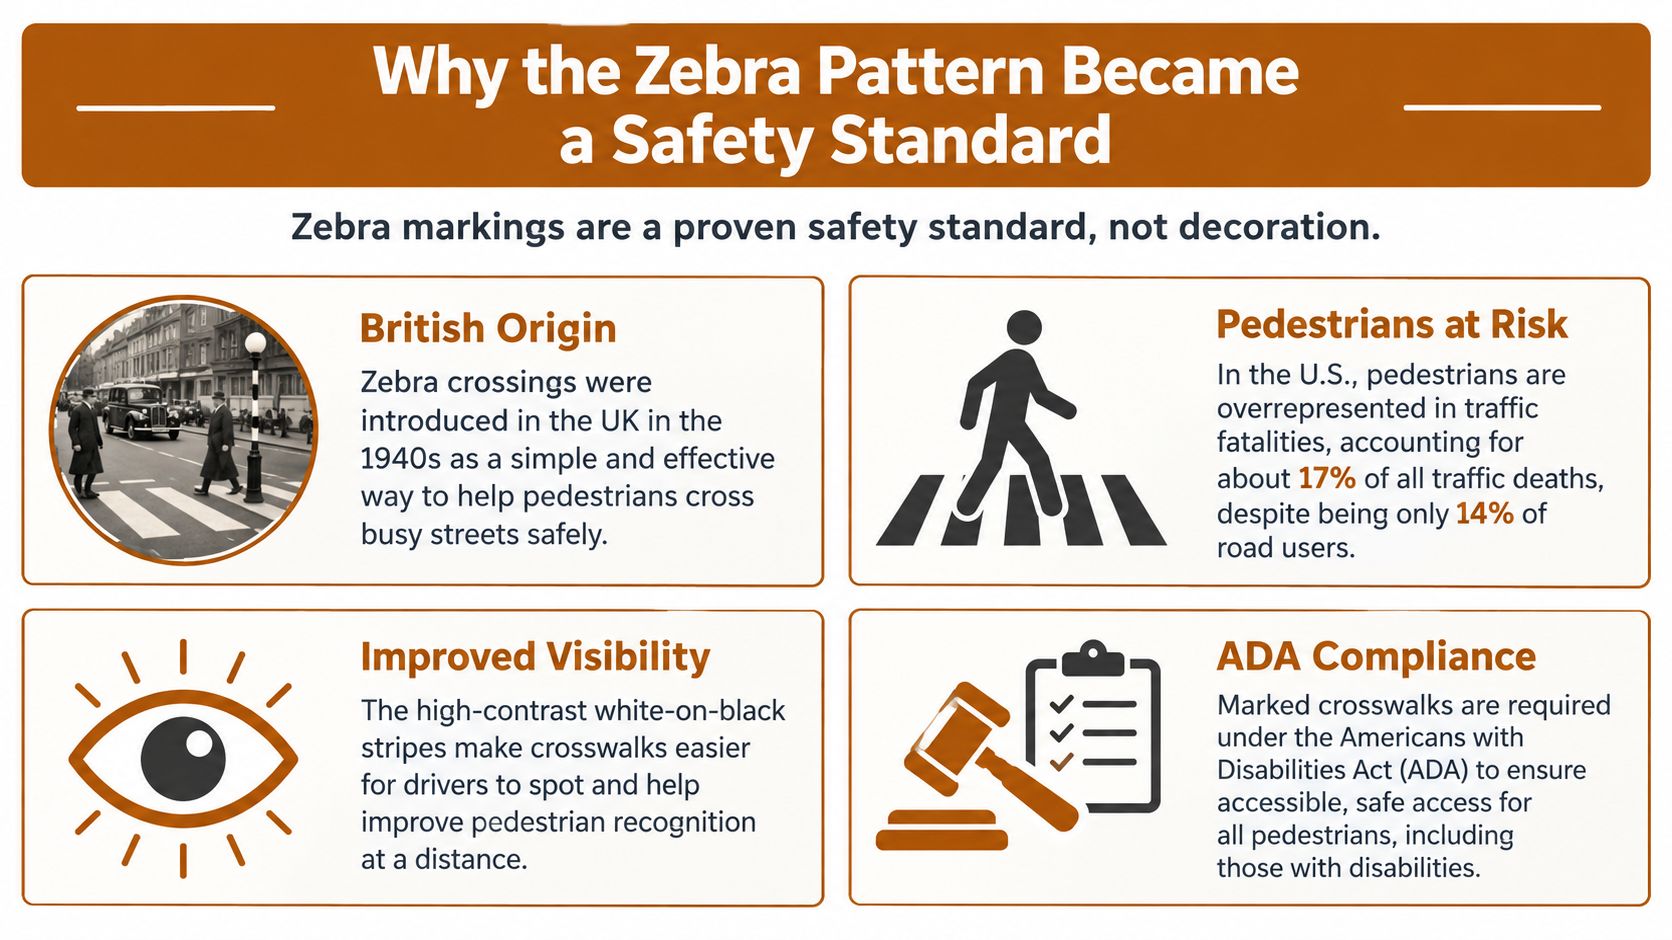
A driver entering a busy lot may be searching for an open space while watching turning vehicles and pedestrians emerging between parked cars. A zebra crossing gives that driver a stronger visual target than a thin standalone line. The pattern matters because it communicates a pedestrian route before a conflict develops.
High-contrast crossings have a longer history on public roads. In the United Kingdom, parliamentary evidence recorded total road casualties declining from 216,493 in 1951 to 208,012 in 1952, approximately 4%, after zebra crossings were introduced. Pedestrian casualties fell from 59,861 to 54,503, a decrease of 5,358 people, or nearly 9%. Those figures do not show that paint alone caused the change. Other safety measures and road conditions also played a role, but the results explain why conspicuous crossings became a recognized safety measure. The ADA parking guidance offers the broader parking-design lesson: markings must support a clear, usable route.
Visibility has a practical limit
A crossing can look bright at midday and disappear under headlights after a Central Florida storm. White bars need strong contrast, sound surface preparation, and an inspection from the driver's approach, not only from the contractor's standing position. Pavement-marking visibility research, as detailed in the materials section below, supports evaluating markings for detection distance and difficult viewing conditions.
Site conditions often decide whether the pattern works. Landscaping, parked SUVs, dumpster enclosures, and curved drive aisles can hide a crossing from one approach while leaving it obvious from another. Rainwater, tire wear, UV exposure, and repeated sealcoating can also reduce contrast or cover the bars before managers expect repainting.
A zebra pattern is one part of a pedestrian-route system. Lighting, signs, stop bars, arrows, curbs, and accessible connections reinforce its message. The stripes clarify intent, but they cannot correct a blocked route, poor sightline, or crossing placed where drivers do not expect people to walk.
ADA Requirements That Shape Every Striping Layout
A zebra crossing has to fit the accessible route and parking geometry first. For car-accessible spaces, U.S. accessibility standards require at least 96 inches of clear width. Van-accessible spaces require at least 132 inches, or a 96-inch parking space beside a 96-inch access aisle. Each access aisle must be at least 60 inches wide, run the full length of the spaces it serves, remain level with those spaces, and connect to an accessible route. The Federal accessibility guidance on restriping parking spaces explains these layout requirements.
The surface slope must stay within 1:48, approximately 2.08%, in every direction. Van spaces, their access aisles, and the vehicle route serving them also require at least 98 inches of vertical clearance. Diagonal hatch marks help prevent drivers from using an access aisle, but they cannot take away the required clear width.
Measure the stall before setting the pattern. A stripe that looks centered can still narrow the usable space if the layout starts from the wrong edge. For a full walkthrough of the layout rules, see the guide to ADA parking lot striping requirements.
Accessible-space quantities
Accessible spaces must be provided in each parking facility on a site, including separate lots and garages. The required count is not based only on the combined site total. The ADA parking space guide summarizes the applicable quantities.
| Total Parking Spaces | Accessible Spaces Required | Notes |
|---|---|---|
| 1–25 | 1 | At least one accessible space |
| 26–50 | 2 | At least one space must meet applicable van-accessible requirements where required |
| 51–75 | 3 | Placement still depends on layout and route connections |
| 76–100 | 4 | Confirm aisles, signs, slopes, and accessible routes |
| Larger lots | 2% of the first 200, plus 1% of 201–500, plus 0.5% above 500 | At least one of every six accessible spaces, or fraction of six, must be van accessible |
For property managers in Dunnellon, Inverness, Lecanto, and Belleview, the field check should cover five points:
- Measure the stall: Confirm clear width before adding hatch marks or moving a stripe.
- Trace the aisle: Make sure it runs the full length of the spaces it serves.
- Check the surface: Look for slope, ponding, broken asphalt, and concrete edges that interrupt travel.
- Confirm the connection: Follow the route from the space to the entrance, not merely to the nearest painted line.
- Review the signs: Match signs, pavement markings, and van-accessible designations.
A neat paint job can still fail in use. Bars may consume clear space, an aisle may stop short, or a person may have to cross active vehicle lanes to reach the sidewalk. Those conditions should be corrected in the layout before fresh paint makes them harder to spot.
Materials and Color Standards That Hold Up in Florida
A crossing that looks sharp on a dry morning can fade quickly under Central Florida's heat, UV exposure, rain, tire wear, and recurring sealcoating. Choose the material for the pavement condition and traffic pattern, not just for the lowest bid.
Waterborne traffic paint works well for routine asphalt restriping. It applies efficiently and gives clean contrast when the surface is sound, clean, and dry. Heavy turning movements, tire abrasion, irrigation overspray, and sealing over paint before it has cured can shorten its service life.
Thermoplastic produces a thicker, crisp marking and can suit pedestrian bars exposed to repeated tire contact. Installation requires heating equipment and careful preparation. Moisture, dirt, weak asphalt, or poor bonding can undermine the result. Preformed tape delivers consistent bar dimensions and efficient placement on selected jobs, but it also depends on a sound, properly prepared surface.
White, yellow, and nighttime recognition
White is the standard high-contrast choice for pedestrian bars because it stands out against dark asphalt. Yellow generally serves other traffic-control purposes, including loading zones, no-parking areas, and selected directional applications. Follow the approved site layout and applicable standards instead of choosing colors for visual variety.
Visibility changes after sunset and during rain. The bars need contrast against the pavement, and drivers need enough time to recognize the crossing under headlights. The FHWA visibility study supports checking markings in wet conditions and at night, not only in bright daylight.

Before comparing bids, ask what surface preparation, cure conditions, and sealcoat coordination are included. This parking lot striping paint guide provides a useful starting point for discussing product selection with a contractor.
| Material | Practical strength | Main limitation | Suitable use |
|---|---|---|---|
| Waterborne traffic paint | Efficient application and strong initial contrast | More vulnerable to abrasion and poor timing | Routine commercial-lot refreshes |
| Thermoplastic | Thick, crisp marking for demanding crossings | Requires heat and specialized installation | High-wear pedestrian areas |
| Preformed tape | Consistent shapes and efficient placement | Bond depends heavily on surface preparation | Selected bars and repeatable layouts |
The cheapest material may cost more over time. If a busy crossing fades early, the property pays again for mobilization, preparation, and disruption. Repainting also becomes harder to schedule when it conflicts with rain, heavy traffic, or the next sealcoating cycle.
Designing the Crossing Before You Design the Stripe
At a busy Marion County shopping center, a crossing can look clear on a drawing and fail during the lunch rush. A parked SUV blocks the driver's view, a delivery van swings across the proposed route, and pedestrians take a shorter path toward the entrance. The layout must account for those movements before anyone chooses paint.
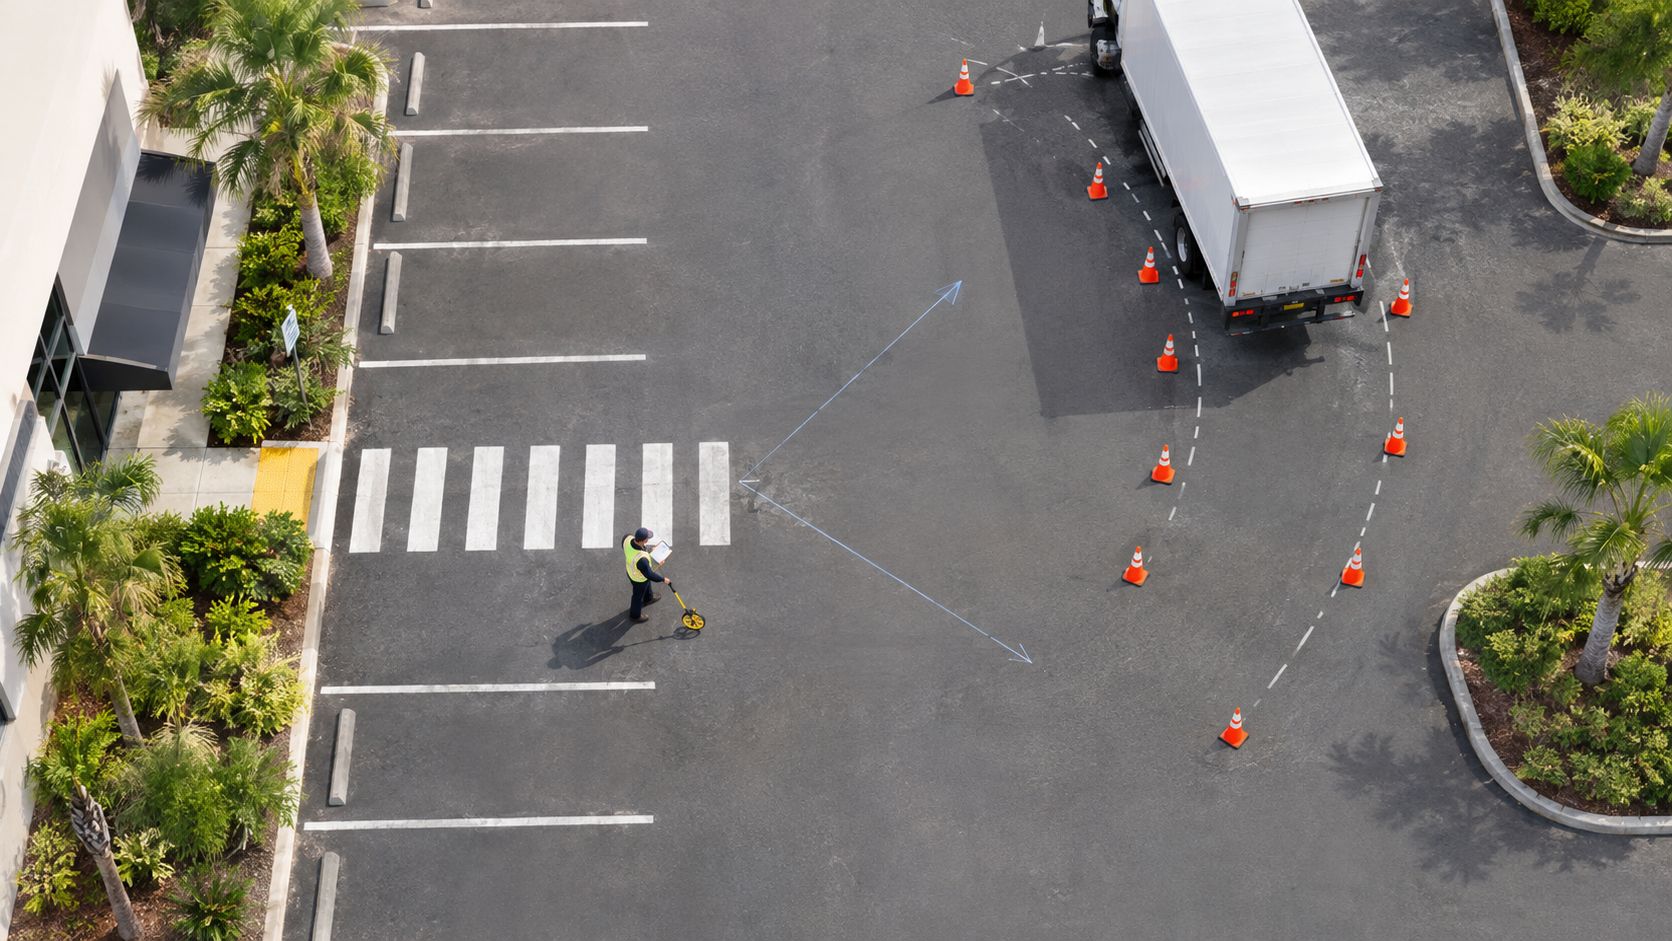
Start by walking the shortest practical route between parking and the building. Then inspect how that route works from each vehicle approach. Look past parked cars, monument signs, landscaping, and dumpster enclosures. Follow delivery trucks, vans, SUVs, and passenger cars as they turn across the proposed crossing. The route people already use may differ from the path shown on an old site plan.
Check the pavement itself. Curb ramps, drainage grates, patched asphalt, concrete joints, and uneven transitions can interrupt movement or collect water after a Central Florida storm. Keep the waiting area level and visible, with enough room for mobility devices. Review lighting at the crossing, the ramp, and the approach to the entrance. Heat, rain, sealcoating, and repeated traffic eventually affect the surface, so a layout that works only on fresh asphalt will not hold up as the lot changes.
The 2025 Florida Department of Transportation Traffic Engineering Manual recommends placing a crossing on the shortest practical route, using parallel lines at least 1 foot wide, spacing them at least 6 feet apart at intersections and 10 feet apart at midblock locations, and adding pedestrian-crossing signs where appropriate. The geometry should serve the pedestrian route, not merely fill an open area of pavement.
Practical rule: If parked vehicles, weak lighting, or turning traffic hide the route, brighter paint is not the first correction.
High-visibility markings, lighting, and signs work together. A marked crossing by itself cannot correct poor circulation. FHWA guidance reports that high-visibility crosswalks can reduce pedestrian injury crashes by up to 40%, while noting that a marked crossing alone is generally insufficient on multilane facilities carrying more than 10,000 vehicles per day. Those qualifications appear in the Florida marking guidance linked above. A private lot may not have the same traffic volume, but the lesson still applies: bold stripes can create false confidence when drivers cannot see the route or pedestrians cannot reach it safely.
Before approving the layout, walk the route from a wheelchair user's position, observe it from an approaching driver's seat, and check it during the property's busiest circulation period. That field test catches conflicts a scaled drawing often misses.
Connecting Stripes to Ramps, Sidewalks, and Building Entrances
A zebra crossing succeeds only when it leads somewhere usable. A person using a wheelchair, walker, or cane needs a continuous, detectable, and unobstructed route from the parking space to the building entrance. Bars that point toward a curb without a working ramp improve the pavement's appearance, not access.
Trace the route from end to end before approving the layout. Check the parking stall, access aisle, curb ramp, landing, detectable warning surface, sidewalk, entrance approach, and each transition across an active drive aisle. A professional-looking crossing can still send pedestrians into vehicle traffic if it ends at a broken sidewalk joint, a ponding area, or a wheel stop.
Common route failures
A property manager can identify many problems during a practical walk-through:
- The curb ramp is misaligned: The bars aim toward the curb instead of the usable ramp opening.
- The detectable warning is missing or misplaced: The transition between pedestrian and vehicle space is unclear.
- The sidewalk is blocked: Planting, signs, carts, trash containers, or parked vehicles narrow the route.
- The surface collects water: A low spot or damaged asphalt makes the crossing difficult after a thunderstorm.
- The wheel stop interrupts movement: A stop may protect a building or planted bed while blocking the turn from the access aisle.
- The crosswalk ends abruptly: The bars do not connect with a sidewalk or a clear route to the entrance.
Federal accessibility guidance requires a pedestrian access route within and along the full length of a crosswalk, including medians and refuge islands where they exist. Army crosswalk guidance also connects marked crossings with accessible features such as curb ramps and detectable warnings. The federal accessibility regulation and guidance supports treating these elements as one system.
The paint should reinforce the route, never define the route by itself.
Concrete and asphalt work often meet at this stage of the project. The scope may include curb-ramp correction, sidewalk replacement, concrete slab work, asphalt patching, drainage adjustment, and final striping. Separate crews can leave mismatched elevations, drainage problems, or bars that still fail to align with the entrance.
Material choice and timing matter too. Painting over a settled patch or a damp low spot only hides the defect briefly. Correct the surface and route first, then stripe after the repair and any sealcoating work are ready for the selected marking material.
For churches and clinics in Crystal River, Homosassa, Inverness, and Hernando, plus retail and HOA properties near Lecanto and Beverly Hills, a professional evaluation should review circulation and accessibility before repainting. The finished route should work for people with mobility and vision impairments, not merely produce a brighter photograph.
Maintenance Cycles That Fit Central Florida Weather
A zebra crossing can look intact from a manager's office and still fail at the curb. In Central Florida, sunlight, heat, rain, irrigation, traffic, and sealcoating determine how quickly its pedestrian route loses clarity. A shaded crossing beside sprinklers may fade differently from a sunny entrance at a busy shopping center. UV exposure dulls white markings, turning tires wear the leading edges, thunderstorms test adhesion, and a new sealcoat can bury a fresh layout.
Inspect the route, not the calendar
Walk the lot after rain and after dark under vehicle headlights. Check where each bar's front edge is thinning, where white has turned gray in shaded bays, and where tire paths have erased the center of the marking. Look from approaching lanes, not only from the building. Drivers need to recognize the crossing, and pedestrians need a route that remains visually connected to ramps, sidewalks, and entrances.
Short inspections after severe weather can expose ponding, drainage trouble, loose coating, or damaged pavement before repainting hides the problem. Staff should record faded bars, blocked access aisles, and ramp defects during ordinary property walks, then give priority to crossings with heavy turning, braking, and pedestrian activity.
Sealcoating requires deliberate sequencing. Prepare the pavement, complete repairs, confirm the layout, and allow the sealcoat to reach the condition required by the selected marking material. Painting too soon can weaken the finish. Waiting until markings become difficult to read leaves people using an unclear route.
Striping belongs in the broader pavement schedule. A commercial asphalt parking-lot maintenance resource explains why sealcoating, crack repair, surface evaluation, and markings are more effective as a coordinated program than as emergency work.
For properties in Summerfield, Hernando, and Silver Springs, repaint when function declines, not just because a calendar date has arrived. Use scheduled inspections to find problems, then weigh contrast, route condition, traffic wear, weather exposure, and sealcoat timing before selecting the material and scope of work.
Planning a Project and Working With a Local Striping Contractor
A useful quote begins with more than the number of linear feet. The contractor should review lot size, existing pavement, surface preparation, material choice, traffic flow, sealcoat timing, accessible-space counts, van layouts, curb ramps, lighting, and drainage. Each factor can change the scope even when two lots appear similar from the street.
Ask for a site visit rather than a paint-only estimate. During an on-site consultation, a contractor can verify measurements, check sightlines from approaching vehicles, identify damaged asphalt or concrete, inspect the route to the entrance, and determine whether the proposed zebra pattern fits the property's circulation.
Questions that improve the scope
Use the estimate conversation to clarify:
- What is being measured: Confirm whether the quote includes spaces, access aisles, hatch marks, crosswalk bars, arrows, stop bars, and directional markings.
- What preparation is included: Ask how oil, dirt, loose sealcoat, cracks, and failed pavement will be handled.
- What material fits the site: Match waterborne paint, thermoplastic, or preformed tape to traffic, surface, and maintenance expectations.
- What accessibility work is needed: Confirm whether the project addresses routes, ramps, detectable warnings, signs, slope, and clearance.
- What happens after sealcoating: Establish the correct sequence so the new markings don't disappear into the next pavement treatment.
- Who coordinates related repairs: If the crossing needs concrete, asphalt patching, or drainage correction, determine whether one contractor can manage the complete scope.
A local company should also provide clear scheduling, reliable communication, and proof of licensing and insurance. Experience across Marion County, FL, Citrus County, FL, and surrounding Central Florida communities matters because the work must account for local weather, pavement conditions, commercial traffic, and the practical needs of shopping centers, HOAs, churches, schools, and medical offices.
Riverside Sealing & Striping, LLC is a third- and fourth-generation, family-owned contractor based in Dunnellon, serving Ocala, Crystal River, The Villages, and surrounding communities. Its work covers parking lot striping, sealcoating, ADA upgrades, concrete driveways, patios, slabs, sidewalks, and related site preparation, so property owners can address the route beneath the paint as well as the markings on top.
A free, no-pressure consultation is the sensible starting point when the project involves more than repainting. The goal is a durable, legible crossing that connects accessible parking to the building, holds up through Central Florida conditions, and supports long-term pavement maintenance.
Riverside Sealing & Striping, LLC provides professional zebra parking lot striping, ADA-compliant layouts, sealcoating, asphalt maintenance, and concrete work for properties across Marion and Citrus County. Visit Riverside Sealing & Striping, LLC to arrange a free on-site estimate and discuss a practical, no-pressure plan for your parking lot.